

Disclosure: This post may contain affiliate links. Purchasing a product through one of these links generates a commission for us at no additional expense to you.
This is easier than you think.
With the right tools, placing ads on your WordPress website is not hard.
Inserting ads into your site is one of the best ways to make money with WordPress and also the easiest method to get started with.
In this start-to-finish guide, I’ll walk you through each step required to get ads on your WordPress site.
Just so you know: this guide will work for blogs, news sites, magazines – any WordPress site.
How to put ads on WordPress
There are three steps you need to follow to put ads on your site:
- Get approved by an ad network
- Create your first ad
- Insert your ad in your website
Let’s start with the first step now.
How to get approved by an ad network
If you’ve got a legitimate website, this should be no problem.
And no, you don’t need to have millions of visitors already to get approved.
There are many ad networks to choose from, but the ad network I recommend most is Media.net.
They’re easy to work with, they have beautiful ads, and their ads are contextually relevant so they fit right in with the rest of your website.
If you want an alternative, you might like Ezoic for its intelligent ad optimization.
By the way, if you use a link in this post to signup, you’ll get a 10% earnings bonus for your first three months.

Let’s move onto the first step now: getting your Media.net account approved.
How to signup with Media.net
If your site is absolutely brand new, then you will have a hard time getting approved by Google AdSense and if you do get approved, they’ll mail you a pin code which takes a few days (or weeks) to arrive. In fact, I never got mine ?
I’d rather help you get the ball rolling fast.
Media.net is great to get started with because their approval time is lightning fast and you don’t need a popular site already to create an account.
With Media.net, you should be approved in 1-2 business days and the ads will show up on your site shortly after including the ad unit code which you’ll learn how to do later in this post.
Joining is pretty painless. In fact, the form on the signup page has just three fields.
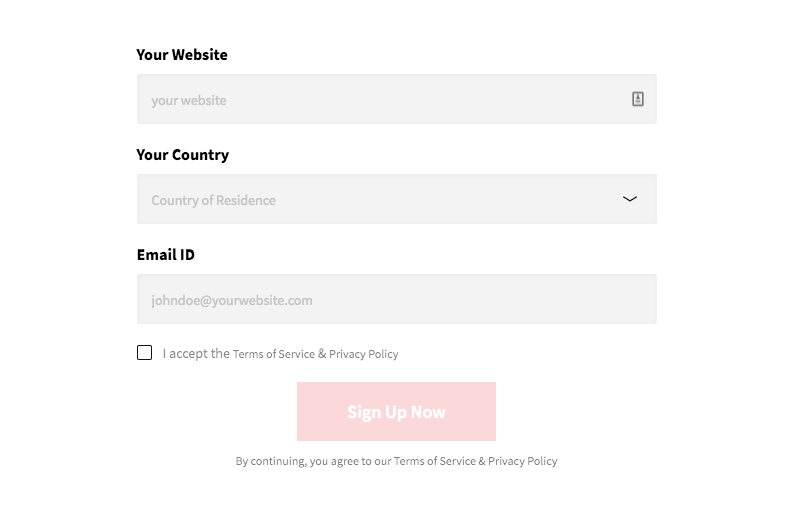
It doesn’t get much easier than that.
After you submit the form, you’ll verify your email address, and hopefully, you’ll get an email the next day congratulating you on your approval.
Once you’ve been approved, you can create your ads.
Create your first ad
Creating ads in the Media.net dashboard is simple.
Login to your account, visit the Ad Units menu, and then click the Add New button that appears at the top.

You’ll be taken to the ad creation page which looks like this:
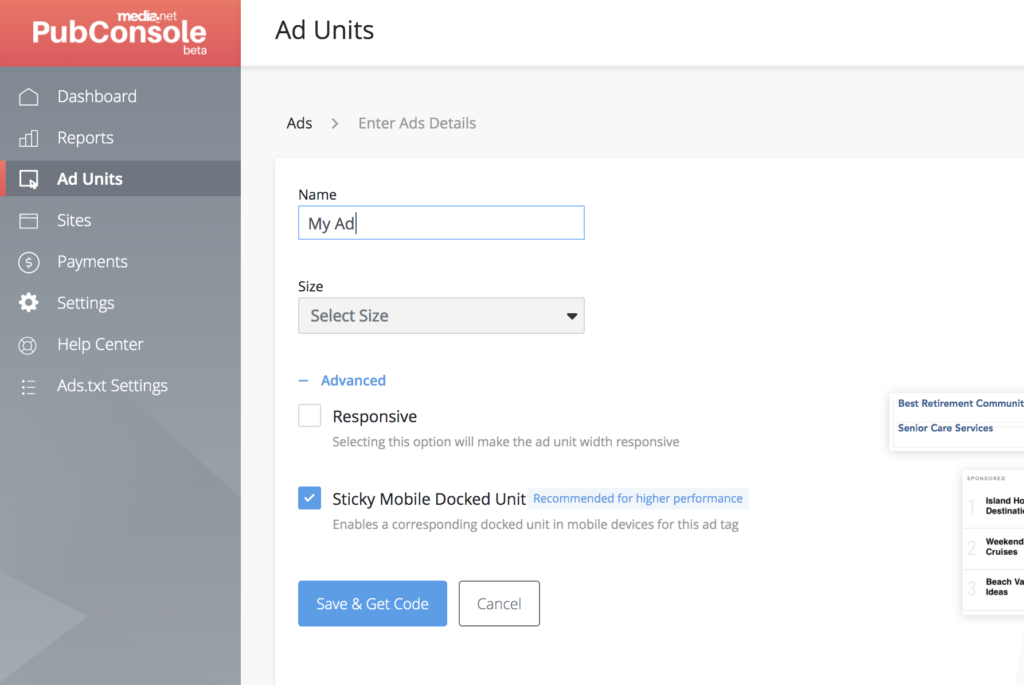
Start by naming your ad and then select a size. Here are the various size options available:
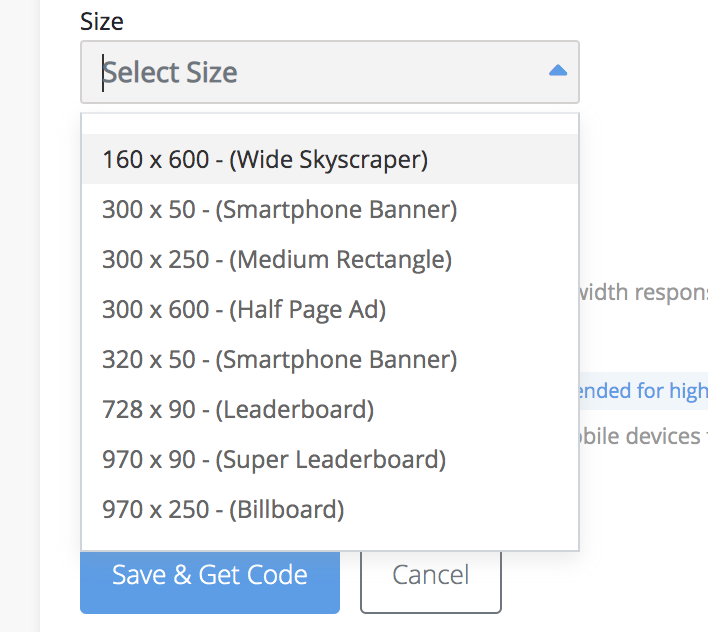
If you already know where you’re going to place your ad then select a corresponding size, but if not, don’t worry. You’ll learn how to insert the ads into your WordPress site in the next part of this tutorial.
Once you’ve selected a size, it’s best to check the Responsive box so that the ad can resize to fit your visitor’s screen.
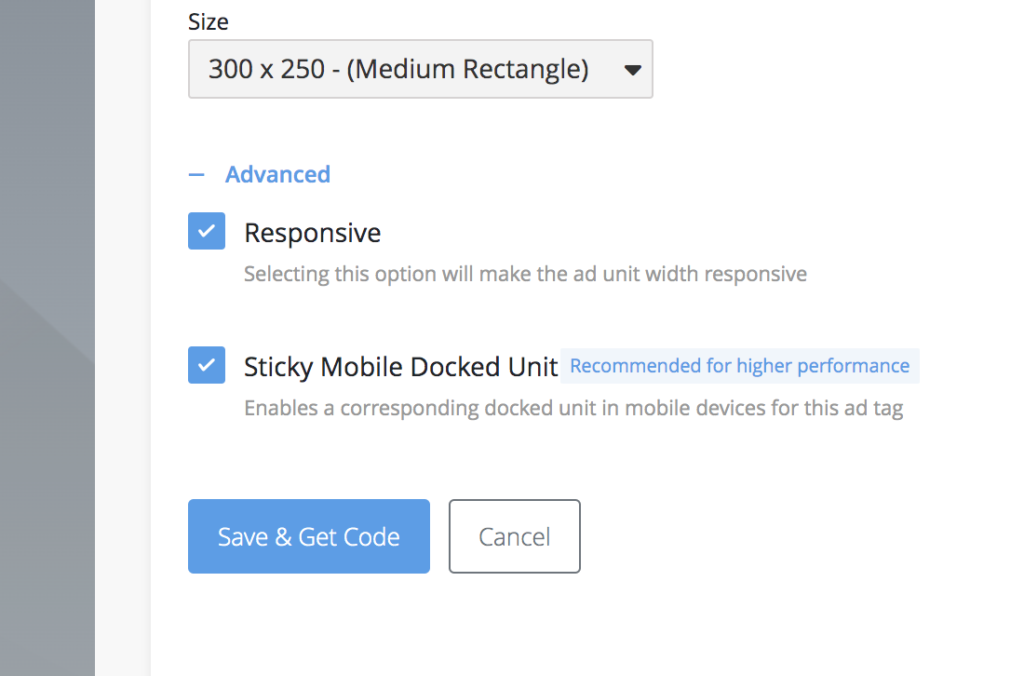
I also recommend leaving the sticky mobile ad on. For mobile visitors, this will place an ad at the bottom of the screen that stays there as they scroll down the page. You can turn it off later if you don’t like it, but since it can greatly improve your site’s performance, it’s a good idea to at least test it out.
With your ad settings filled out, click the Save & Get Code button. The code snippets you see will be used to get the ad displaying on your website.
Insert the ads in your site
The next page will look something like this:
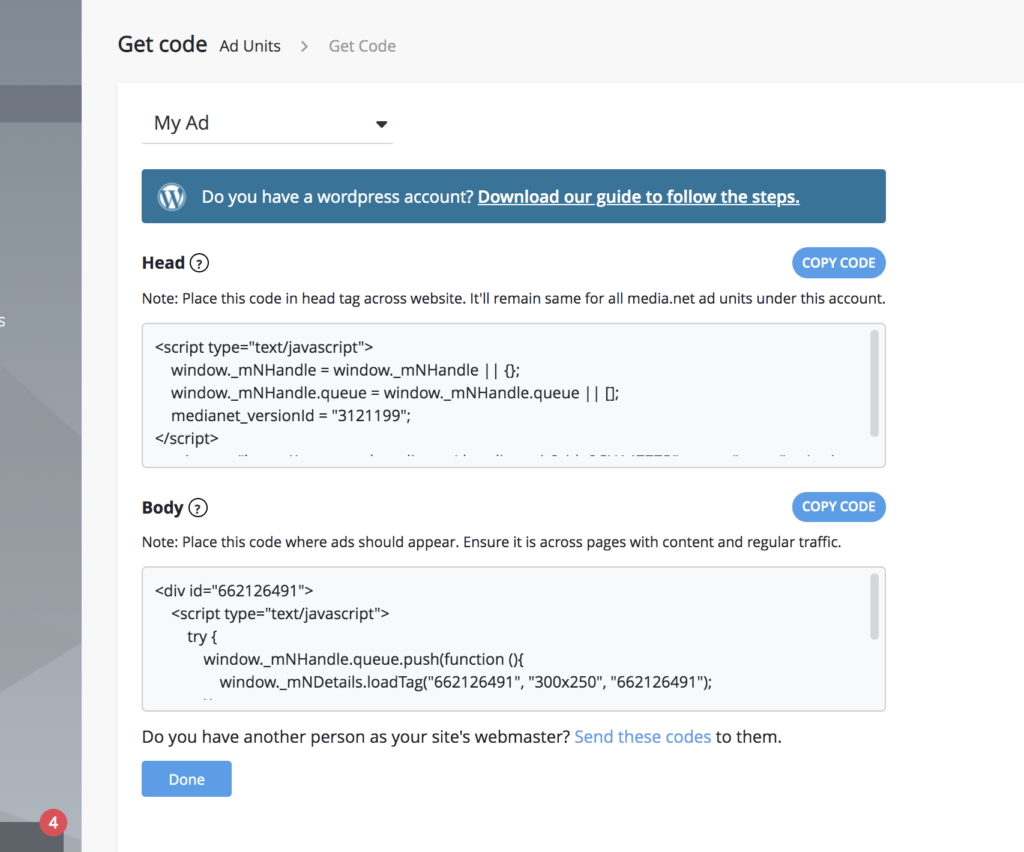
You’ll get two code snippets: one for the head and one for the body. You need to copy & paste these snippets into your site which you can do easily with a plugin.
While there are lots of plugins available for inserting ads, most of them are wildly complicated and have terrible interfaces. We’re going to keep things simple.
Add the head code
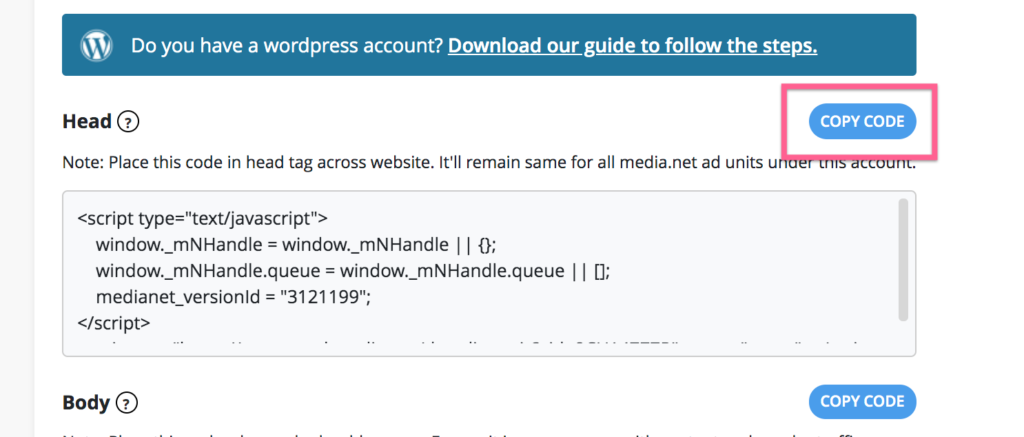
The head code only needs to be added once and basically connects your site with Media.net. You’ll keep this code active as long as you run ads with Media.net.
To add the head code, start by clicking this button to copy the code to your clipboard:
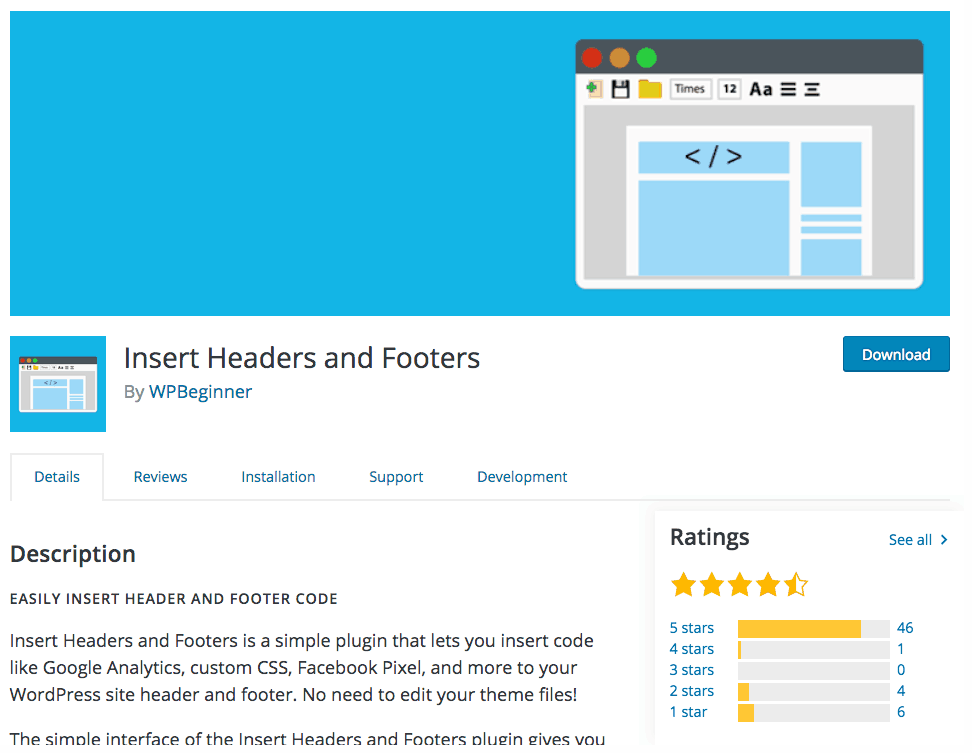
Next, login to your WordPress site and install a simple plugin called Insert Headers & Footers.
Once the plugin is installed, you’ll see this new menu available under Settings:
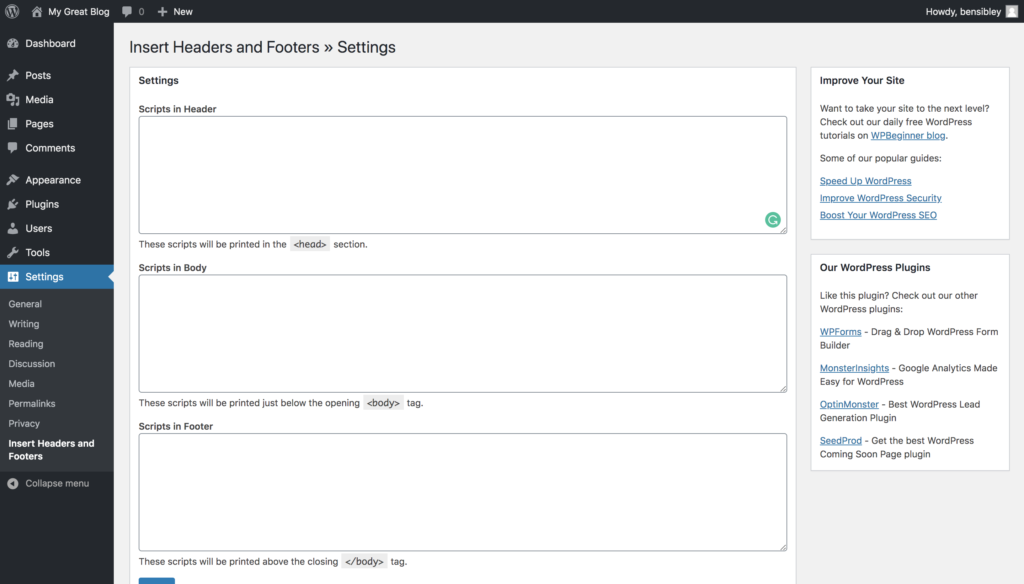
Paste the head code from Media.net into the first box called, “Scripts in Header.”
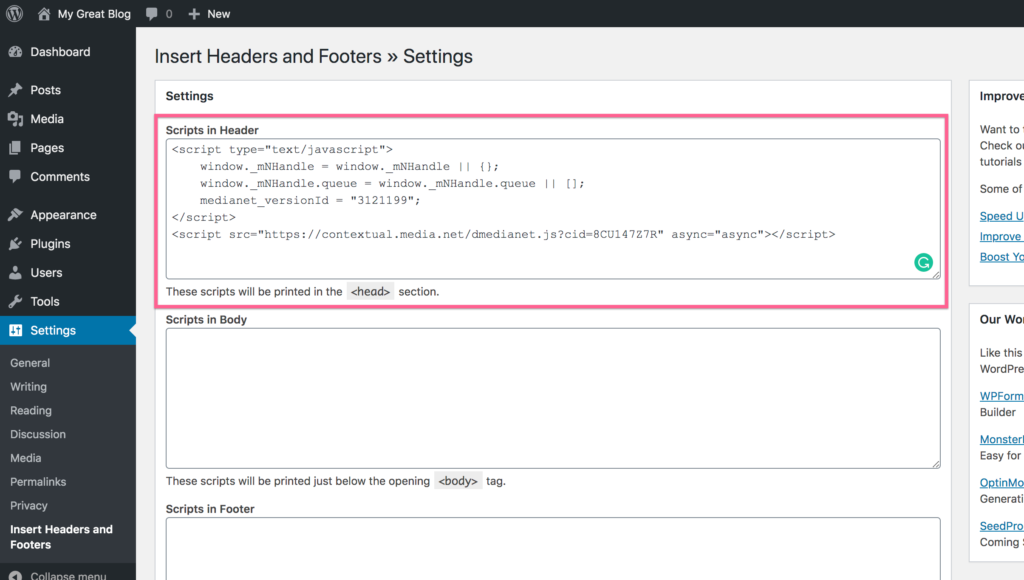
Once you save your changes, the code will be added into the head section of every page on your site. Sweet! Halfway done already 🙂
Now all that’s left is to add the body code.
Tip: never add the code directly into the header.php file in your theme. A single error can break your site and your changes will be overridden next time you update the theme.
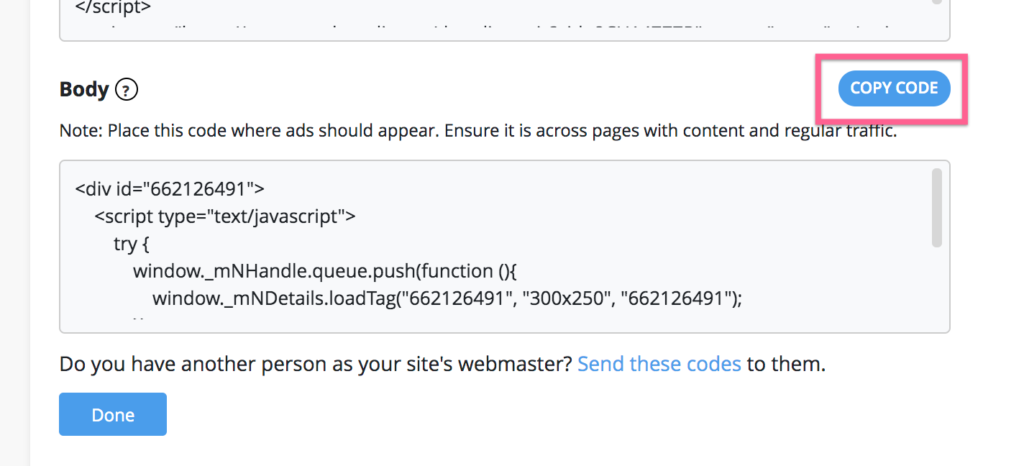
Add the body code
“Body” is actually a bad name for this. The Body code is simply the ad code. In other words, wherever you place this code, that’s where the ad will show up.
Click this button to copy the ad code:
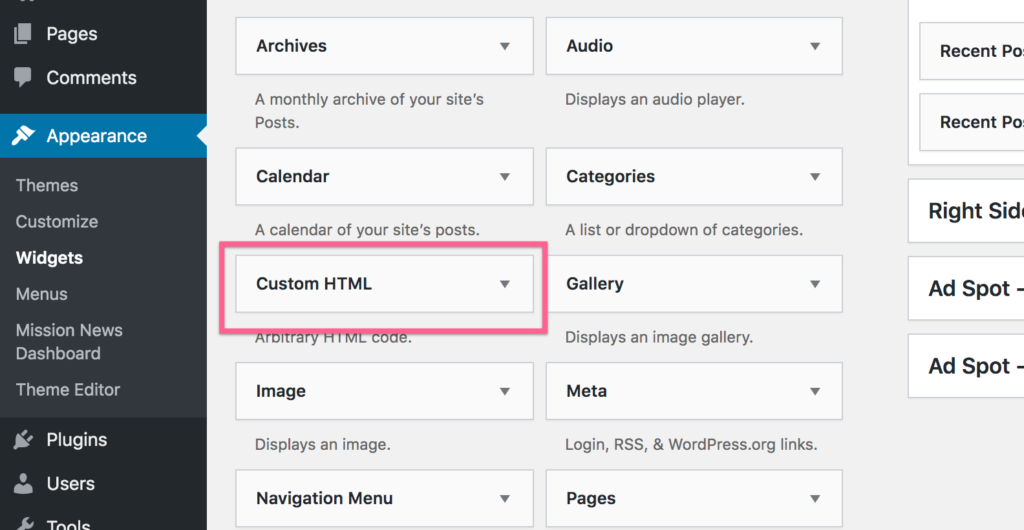
The simplest way to display an ad on a WordPress website is to use the Custom HTML widget.
Head to the Appearance > Widgets menu and you’ll see the Custom HTML widget listed on the left side.
When you click on the widget, you’ll see all the widget areas where you can add it.
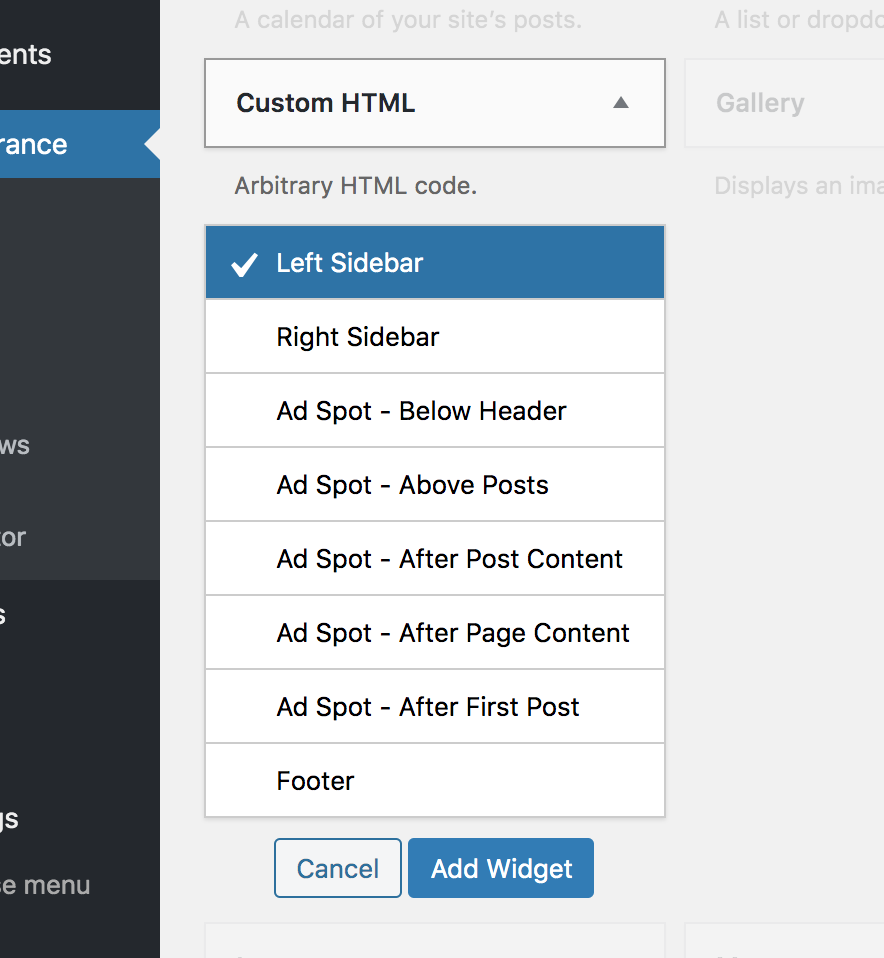
In my example, I’m using the Mission News theme, so eight different widget areas can all display ads. The widget areas you have available are based on the theme you’re using. Any ad-optimized theme will give you plenty of widget areas to choose from.
Once you’ve selected the widget area, the final step is to paste the ad code into the Custom HTML widget.

Click the Save button at the bottom of the widget and it will go live on your site. After this is done, Media.net will start finding ads to display on your site.
The ad is going to be empty for a while since it’s your first one. Don’t agonize over it. Just let it be and when you check back later, the ad unit should be populated.
This is a simple implementation, but it’s the quickest and easiest way to get started with advertising. In just a few steps, you’ve got a functioning ad inserted into the sidebar of every page on your site.
That said, there are some easy ways to enhance your advertising.
Include more ads
One sidebar ad is unlikely to earn you a fortune. An easy way to increase your site’s revenue is to include more ads.
To do this, you can return to the Ad unit menu in the Media.net dashboard and create additional ad units there. Then you can copy the Body code for each ad into a new Custom HTML widget on your site.
Before going all-in with multiple ads, it might be beneficial to use a Website Ad Revenue Calculator to estimate the potential earnings based on your site’s traffic and ad placements. Keep in mind that Media.net has a limit of 3 ads per page, so make sure that you don’t overdo it.
Get more ad locations
If your theme doesn’t have a large variety of widget areas, you can consider a plugin like Ad Inserter. While it is more advanced, it will allow you to place ads in your theme in places where there aren’t widget areas. For instance, you’ll be able to insert ads between posts.
Before wrapping up this tutorial, there’s just one more thing you need to do.
Upload the ads.txt file
The ads.txt file is a form of verification. It assures advertisers the correct website is displaying their ads and not counterfeiting in any way.
Media.net makes it easy by providing you with the ads.txt file in your dashboard in the Ads.txt Settings menu.
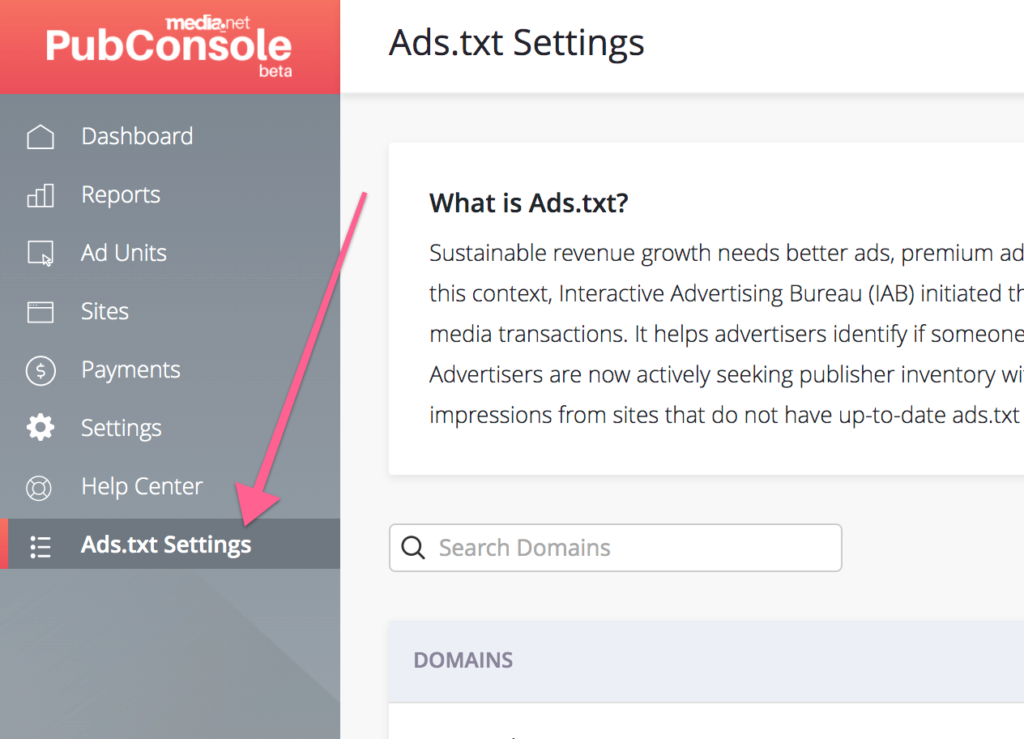
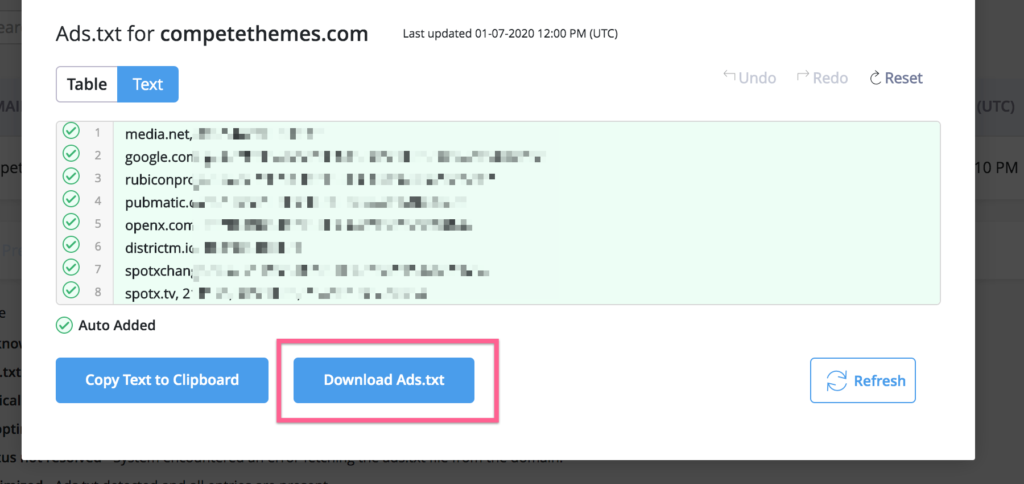
Each of your domains will have its own ads.txt file generated. Click the View button next to your domain, and you’ll see a popup that includes a download button for the file.
The last step is to upload it to the root directory of your server. If you’ve used FTP before, this will be a cinch. If not, please follow along with my FTP for beginner’s tutorial.
If you’re not sure what I mean by “root directory” it’s the folder where all WordPress files are stored. Some servers will simply name it “wordpress” while others will call it something like “public.”
You’ll know you’re in the root directory when you see the “wp-admin,” “wp-content,” and “wp-includes” folders. That’s where you want to upload the ads.txt file.
With the head code and ads.txt file uploaded, your set up process is totally complete. Moving forward, you’ll get to spend all your time optimizing ads, growing your traffic, and watching your earnings climb.
Advertising with WordPress
If you try to dive in with one of the advertising plugins first, this whole process can become a mess.
Likewise, starting with the wrong ad platform can make things harder and drag down your timeline.
Media.net is the easiest platform to get started with and for many websites, the earnings vastly exceed those of AdSense.
If you haven’t signed up already, here’s the link again for the 10% earnings bonus:
Thanks for reading, and if this guide helped you out today, make sure to share it with someone else before you leave.
